When we bought this house, we decided the pool in the back yard had to go. In place of it, we built a Patio, which you can read about here.
But, once the patio was made, we had a bit more work to do:
- Remove the Deck that surrounded where the pool was.
- Remove the posts from the ground that held the deck up.
- Re-use the wood somehow.
- Get rid of the wood we cannot use.
- Remove the old paint from the deck.
- Make a plan for what to do with the mid-level stairs: remove them or …. ??
- Sand the deck.
- Replace any boards that needed replacing.
- Paint the first coat.
- Paint the second coat.
So, here are some images of the deck before we bought the house:

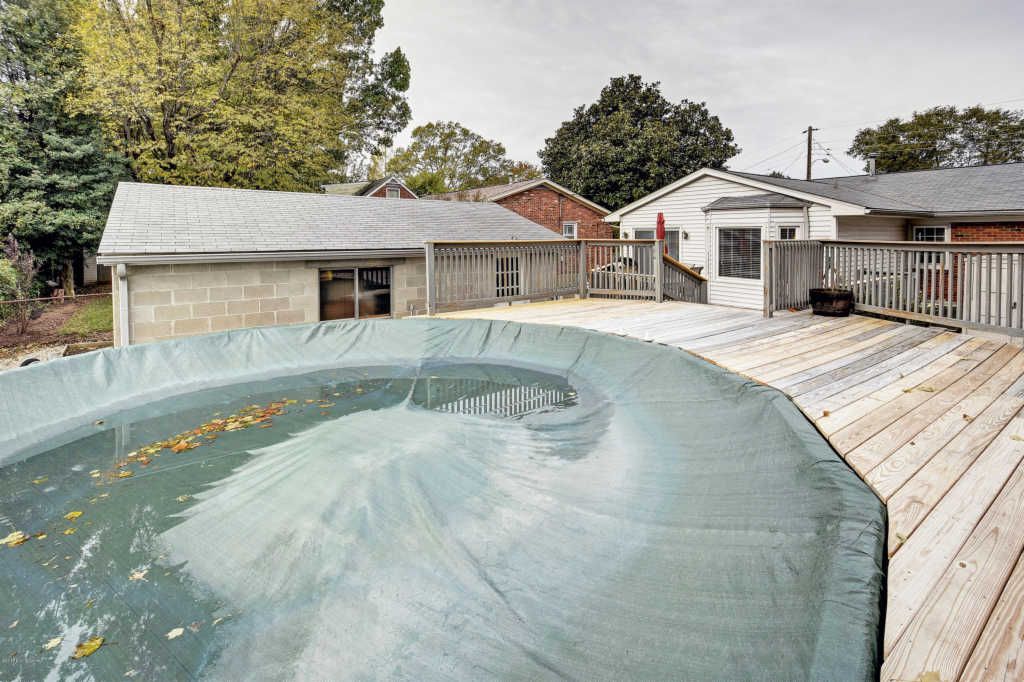
Step 1 – Removing the Deck & Reusing the Wood
Skipping the pool part because I covered that already… we now had to remove some things from the deck that were still “hanging on” from the previous deck removal. Mostly, rusty nails, loose pieces of wood, and some sturdy pieces of wood that were a real pain to deal with. Why were they a pain? Because I was a man with no tools at the time.
Now… if you know me… you know I am not a take lots of photos kind of guy. So, many of the photos in this post are either because of Tracy, because I remembered after the fact, or because Zillow never deletes anything after a sale. But, regardless, here are some more images of what the deck looked like at the start:

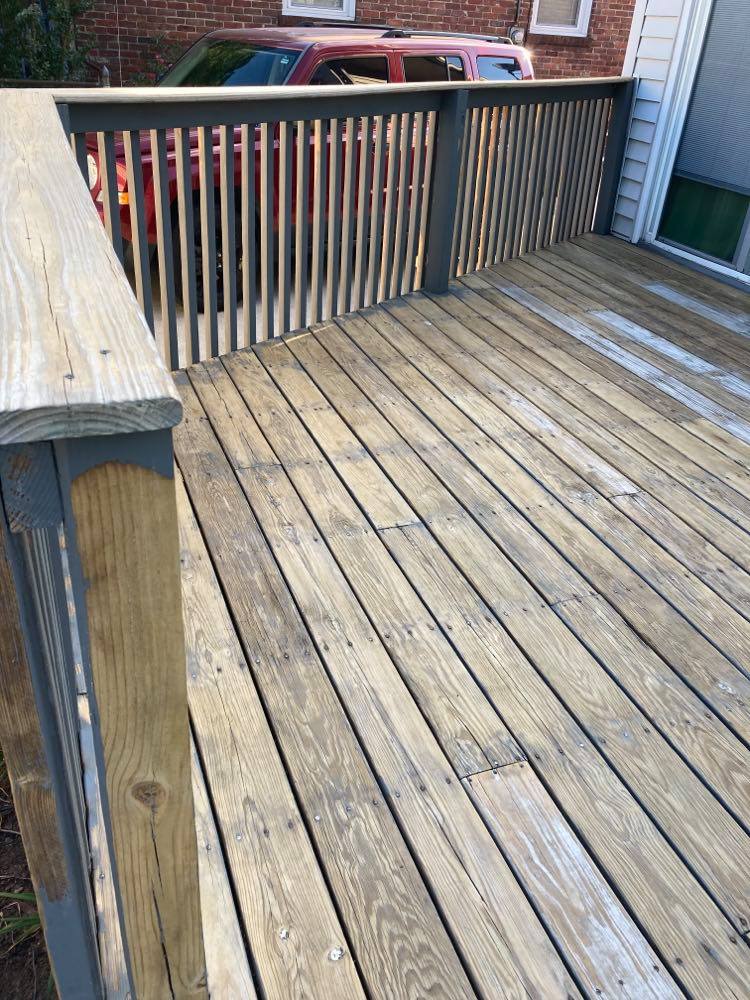
If you take your eyes off Marmis, you will notice the poor state of the deck. I didn’t know this at the time of this image, which was taken because of Marmis and not because I was thinking about this write up, but several of those boards without paint on them actually lost all their paint. I thought they were replaced boards. However, when I got up close to them, I could actually see where paint had collected in the grooves, and was fairly loose. So, all of those boards were painted and some just completely lost all their paint.
The shelves I made in the image are for indoors – I will put a picture of them at the end. They were a pretty neat idea actually and Tracy helped with a major part of their intended functionality for the cats.

As you can see in this image dominated by our barrel of a cat Marmalade, whom we call Marmis, the paint near the door was chipping very badly. You can even see rust marks from where the nails are rusting and the rain makes a rust trail down the boards.

The wood in the image above was all of the wood I felt was re-usable from the deck that surrounded the pool. The large stack of small boards were actually all 8 foot boards I chopped up into random sections ranging from 1 foot in length to 3 feet in length. I rented a reciprocating saw from Dan’s Garage and it worked out well. I have been able to re-use all of the wood in the image, which was approximately 60% – 75% of the deck wood. The unusable parts of the deck were either rotting wood, wood with way too many screws / nails to reasonably be able to remove, or damaged in a way that made it too difficult to reuse reasonably (…..and some of that damage might or might not have been caused by someone who will go unnamed for privacy reasons) 🙂
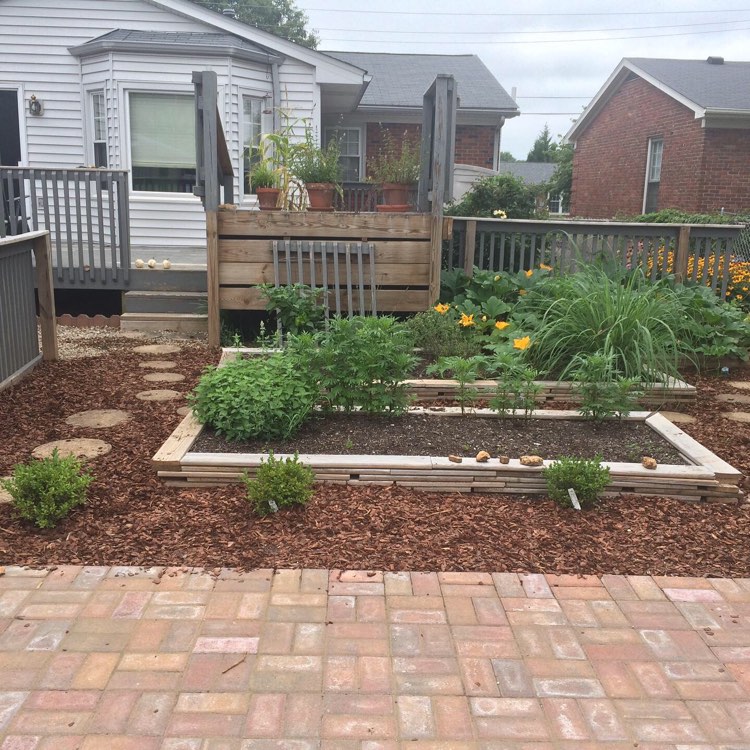
One of the major uses to reuse the wood was to create several raised beds. The above image shows how I created about 100 wooden legos (pictured below).

I then fitted these wooden legos together and created two fairly large raised beds. None of these have any paint on them, so they work pretty well for gardening. I feel bad for the person who will one day take them apart. It would be rather challenging. Because I was, and still am, so new with wood working, I did not put any thought into making these so they could dissemble. So, it’d be like gluing 2 legos together – good luck.
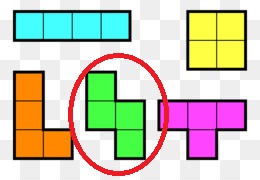
The raised bed behind the one in the front is actually more like an “S” shape or those annoying shapes in Tetris (you know the ones I mean).

As you can see, the deck mostly was removed but we still have a bunch of posts to remove. Now, if you ever decide to dig down 3 feet deep in Kentucky in soil that is not cultivated, you’ll find red clay. It is horrible. From my limited experience it likes to…
A. Not move
B. Not want to be dug up
C. Retain water so you don’t know how deeply you dug
D. Hold tightly onto concrete
All of the ivy there had to go, too. We can’t have ivy growing where Tracy wants her future garden. Tracy took care of the ivy with magic and mysticism.
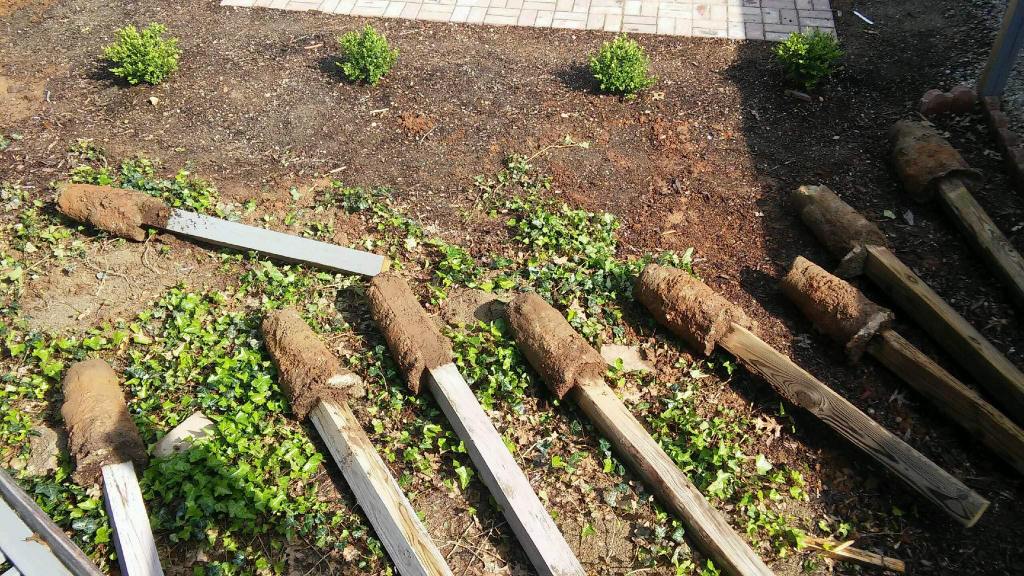
I believe I took this photo to send to Tracy when she was not home. So, I can now share it with you, too. There were 11 posts total. However, I managed to keep 2 in the ground and use them as they were. So, I dug up these 9 posts and my back hopes I do not have to do this ever again. Of course, if you eyed the crappy fence in our backyard, you will know I probably will have to do this again next summer (summer of 2022).

There were 8 of these surrounding the pool at the top of the deck. You can see some of them if you scroll back up to the initial images. Basically, we felt having a little separation between the gravel and the garden would be good. So, I kept 2 fence posts in the ground: one for this fence and another for a fence on the other side of the deck that is not pictured. I then dug a 3 foot deep hole in the horrible stupid red clay and discovered I had dug 1 inch too deep. Therefore….

I added this lovely piece of wood to bridge the gap between the fence post that was dug 1 inch too deep and the fence. Tracy’s dad Mike (The Mickey) told me “Ah, no one will ever notice!” He is right! That is why I am putting this online for everyone to see. So, if we can all continue to not notice it, that would be great.
I will also note that in the above photo, in the background by the stairs, that is not a resting pig but rather a bag of mulch.
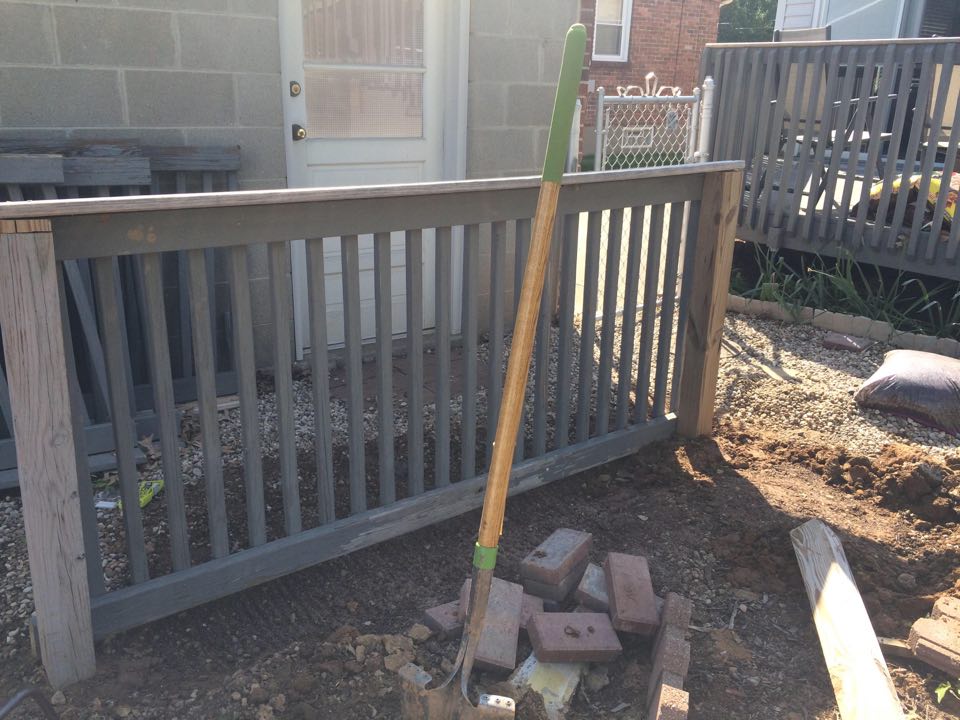
Here is a side angle of the fence. You can see the other fence posts behind it. I stacked them up against the garage and kept them in tact. I was able to reuse much of them: two full fences as I have described. However, I was able to take the up-and-downs out from the middle on most of them and re-use those in various ways. The main way, of course, was replacing any that were broken or not doing too well on the other fence posts as well as on the part of the deck we decided to keep. You can also see Ole Trusty there in the foreground: the first shovel I ever bought that wasn’t crappy. In the foreground you can also see left over paver bricks from the patio (we have approximately 400 left over). But, we have a project in mind for those for the fall.
Step 2 – Removing the Paint & Sanding the Deck

Well, I didn’t take any before and after photos specifically. You can look at the previous photos to see the difference. But, by this point in the project, I have accumulated many tools. So, I am no longer a man with no tools but rather a man with some tools. After about 20 hours or so of YouTube videos on paint removal, I opted to use an Angle Grinder. I used an angle grinder wheel that was intended for use on grinding down metal. The wheel was made by Diablo. Basically, I found several videos where people use it to grind paint off wood. It worked very very well.
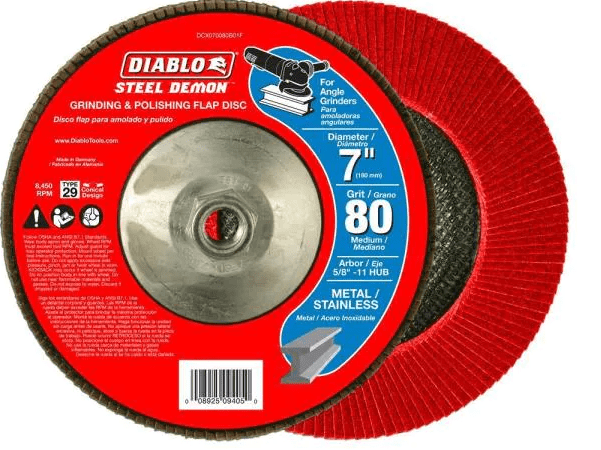
Basically, you attach this to the angle grinder and it spins in a circle at around 9000 – 12,000 RPMs (depends on the angle grinder you buy and how fast it can spin). Anytime I moved this over a nail, sparks would shoot everywhere. So, if you have a bunch of sawdust around, I recommend vacuuming up before going over nails. So, I ignored all the spots with nails when using this tool because I definitely had sawdust everywhere. But, it worked very well.
I will note this was the most labor intensive part of the whole project. It took me about 20 hours of work and after each 2 or 3 hour shift of doing this I needed about 2 days to recover. It’s a lot of hunching over and being very deliberate with your movements. If I ever got around to doing those ab workouts people recommend, I might have had an easier time.
So, it got me wondering: “How much would it have cost me to have someone do this for me?” I mean, I don’t know what I am doing – I just watch YouTube videos and get the gist of what to do and go do things. Well, if we were to pay someone to do all of this work, it would have cost between $800 – $1,500 depending on options. I actually found that some companies charge for paint removal and paint application separately, which gets even more pricey. But, here are my actual costs:
$120 in paint at $20 per can of paint (this deck took 5 cans of paint and a 6th on hand for touch ups).
$14 per Angle Grinder Wheel (I used 5 – they eventually get gummed up with paint and need replacing)
$10 per a 1″x5″x8′ board (all the rest were recycled boards)
$2 in paint brushes (Dollar store haha)
Total: $202
Other costs associated with this project would be the Angle Grinder, Shop Vac, and Reciprocating Saw that I purchased. If I add those costs in, we’re still below $800 which would have been on the low end. I have already used the shop vac, angle grinder, and reciprocating saw for many other tasks at this point, too. So, gaining experience with these as well as saving money makes it worth it to me.
Step 3 – Painting the Deck
And… we painted the deck!
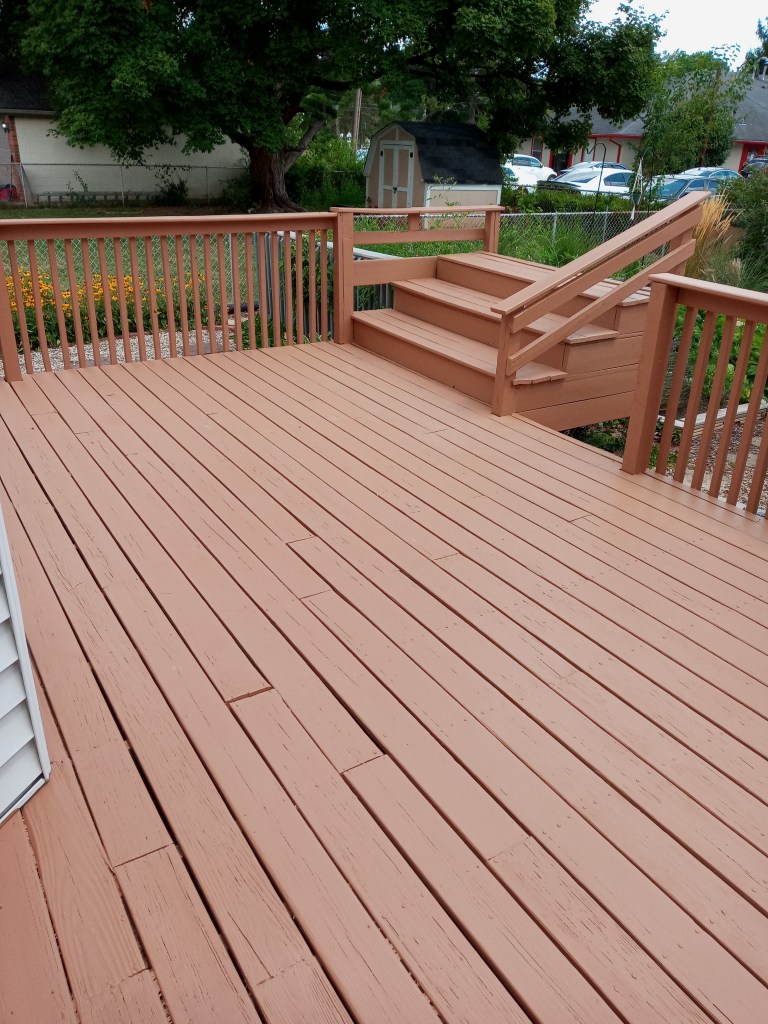
As you can see, it is finished. We allowed our OTHER cat Amigo to choose the color. We selected a range of colors and brought the sample cards home. We sat them in the window and waited to see which one he would lay on. He chose “Baked Sienna.”
The stairs that lead to nowhere in the picture, which originally led up to the pool deck, will be used to hold pots of herbs. We actually tested this idea out last year and it worked very well. But, due to the painting this year, we haven’t used the steps for growing anything so they look a bit bare. I will also note that July is generally a hot month in Kentucky as far back as I can remember. But, this year, we only had a single 5 day stretch with no rain. Every other day it either rained of had a threat of rain, preventing Tracy and I from painting for much of the month. But, it eventually got done.

As promised, here are the cats sitting on the shelves I built. They are single shelves with a foam pad on top so the cats can see out of the windows. Tracy made the pad with a fabric that has a world map on it because the theme in our reading room (Library or… as I say with a British Accent: “The Li-bree”). So, these shelves worked out, too.
